
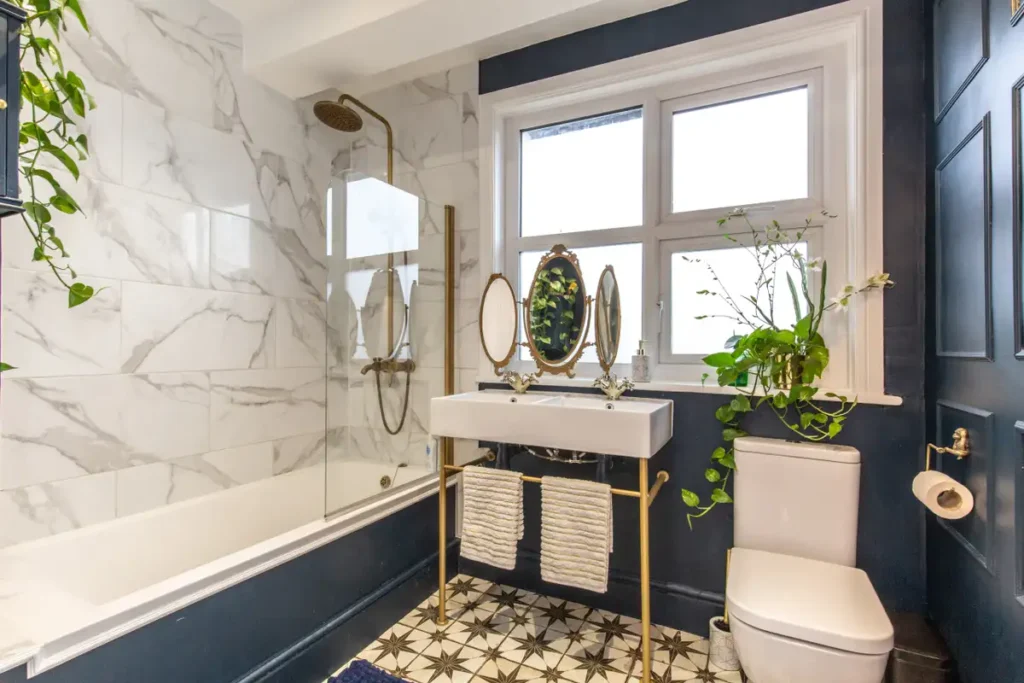
Are you craving a bathroom refresh but fearing the hefty price tag? Relax! This guide unlocks the secrets to “How To Save Money On Bathroom Renovation”. Discover DIY magic, budget-friendly materials, and smart upgrades that won’t compromise style.
Embrace sustainable features, find pro help wisely, and transform your bathroom without breaking the bank. Let’s make your dream bathroom a reality, one affordable step at a time!
I. Planning & Budgeting
1. Prioritize Needs vs. Wants: List absolute must-haves (e.g., leaky faucet fix) and dream upgrades. Allocate funds accordingly, knowing that needs come first. This can save you from overspending on non-essentials.
COST ANALYSIS
While this doesn’t have a direct cost, focusing on essential repairs like fixing a leaky faucet (around $100–200) instead of a jacuzzi tub ($3,000+) could save thousands.
2. Set A Realistic Budget: Be honest about your financial limitations. Include material, labor, and unexpected costs (e.g., plumbing issues). A realistic budget prevents financial strain and project delays.
COST ANALYSIS
This is free upfront planning, but crucial. Aim for a 10–20% buffer for unexpected costs. For a $10,000 budget, plan for a $1,000–2,000 contingency.
RELATED
One Day Bathroom Renovation: From Bland To Bliss In 24 Hours
35 Best Mobile Home Bathroom Renovation Ideas & Budget Friendly
35 Ways To Increase Counter Space In Small Bathroom
The Guide To Small Space Bathroom Sliding Door
How TO Decorate A Small BAthroom Like A Design Pro: The Ultimate Guide
3. Consider a Designer Consultation: An upfront investment in a designer can save money in the long run. They prevent costly mistakes, optimize space, and source cost-effective solutions. Consider their expertise as an investment in a successful renovation.
COST ANALYSIS
Consultations can range from $100 – $500+, depending on experience and scope. While there is an initial cost, their expertise can prevent costly mistakes and save money in the long run.
4. Shop Around & Compare Prices: Don’t settle for the first quote! Compare prices from different contractors, material suppliers, and even used item marketplaces. This research can unlock significant savings.
COST ANALYSIS
Free online research and obtaining multiple quotes (3-5) for contractors (quotes can vary by 10–50%), materials (vary widely), and even used items can save hundreds or even thousands (e.g., $50 mirror vs. $200 new).
Remember, these are ballpark estimates, and actual costs can vary depending on location, materials, and project complexity. But by prioritizing needs, planning your budget, and comparing prices, you can significantly reduce your renovation costs and achieve your dream bathroom!
II. Smart Space Utilization
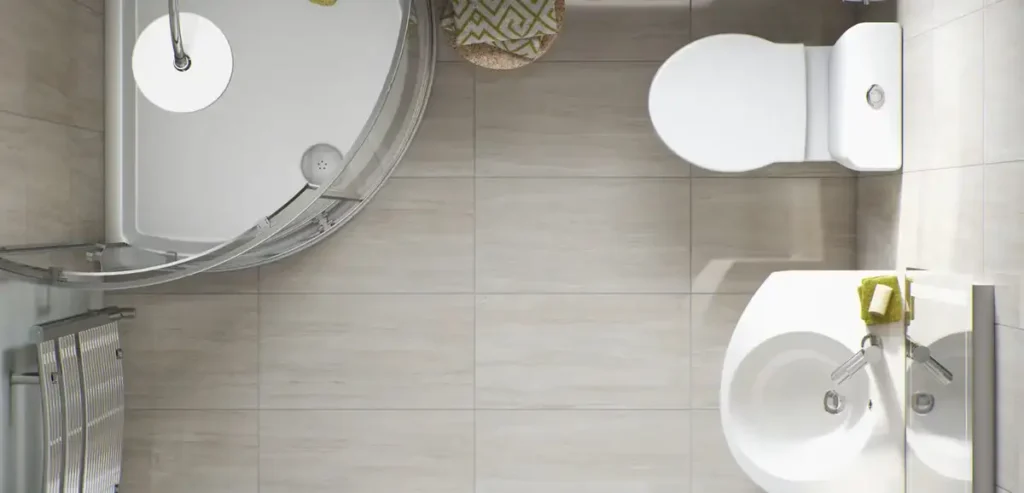
5. Keep the Existing Layout: Moving plumbing is expensive! Consider rearranging fixtures within the existing layout to save on costly plumbing work. Think about rotating the toilet, swapping the shower and bathtub, or utilizing space-saving corner vanities.
COST ANALYSIS
Moving plumbing can cost $2,000–$5,000+, depending on its complexity. Sticking to the existing layout saves significantly, so explore rearranging fixtures within that space (Cost: $0)
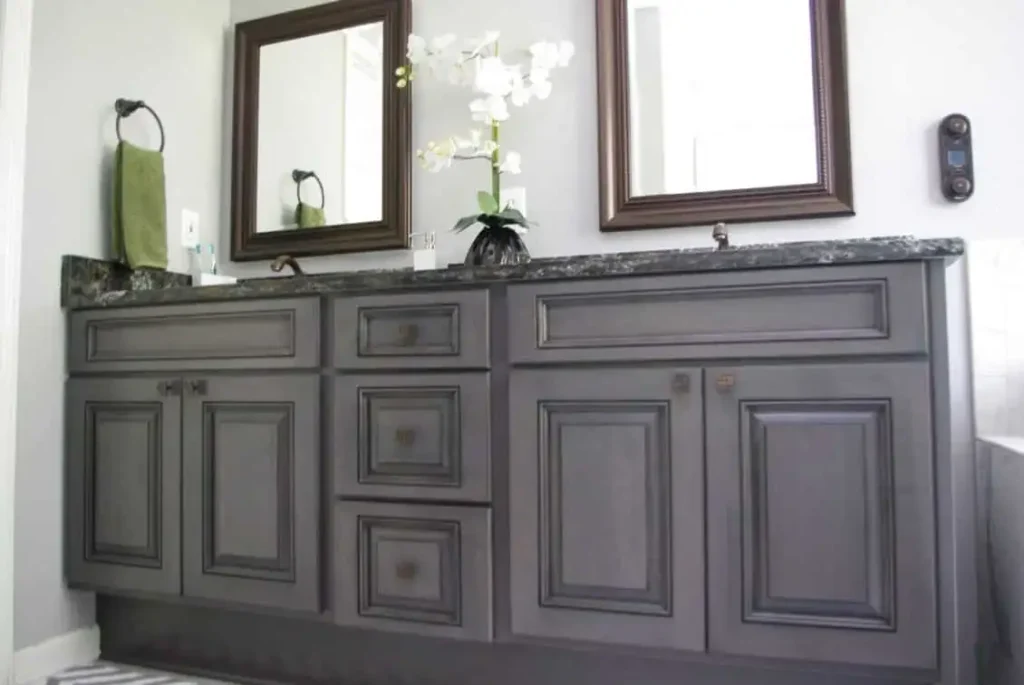
6. Refinish Existing Fixtures: Updating cabinets, vanities, or countertops can often be achieved through refinishing, painting, or re-glazing. This budget-friendly option provides a fresh look without the hefty price tag of full replacements.
COST ANALYSIS
Refinishing cabinets or vanities: $500–$1,500. Replacing: $2,000-$5,000+.
Refinishing a bathtub: $300–$500. Replacing: $1,500-$3,000+.
Refinishing is often significantly cheaper.
7. Prefabricated Showers & Bathtubs: Opt for prefabricated shower stalls or bathtubs for faster installation and lower labor costs compared to custom-built options. While offering less design flexibility, they can be a smart choice for budget-conscious renovations.
COST ANALYSIS
Prefabricated showers: $500–$1,500. Installation: $500-$2,900.
Custom showers: $2,000-$5,000+.
Prefabricated tubs: $300–$1,000. Installation: $300-$500.
Custom tubs: $2,000–$4,000+.
While less flexible, prefabrication saves money.

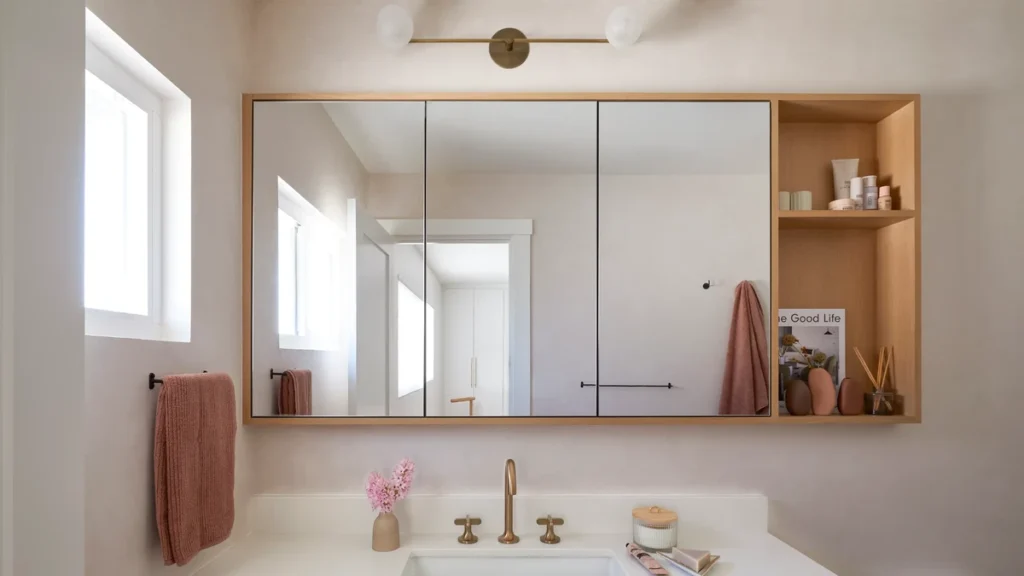
8. Maximize Storage Solutions: Utilize vertical space effectively with wall-mounted cabinets, shelves, and medicine cabinets. Opt for mirrors with built-in storage or vanity units with drawers and organizers. Maximize every nook and cranny to eliminate clutter and create a more spacious feel.
COST ANALYSIS
Wall-mounted cabinets: $100-$500+.
Shelves: $20-$100+.
Medicine cabinets: $50-$300+.
Mirrors with storage: $200-$500+.
Vanity units: $500-$2,000+.
Costs vary depending on size, material, and brand. Utilize existing structures wherever possible to minimize costs.
III. Cost-Effective Materials & Finishes
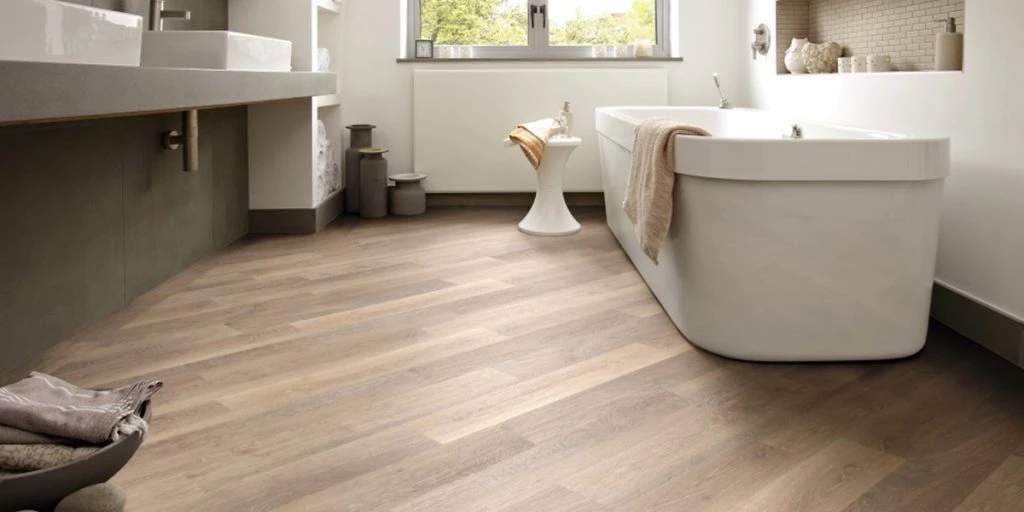
9. Vinyl Plank Flooring: Durable, water-resistant, and budget-friendly, vinyl plank flooring offers realistic wood or tile looks at a fraction of the cost. Installation is also simpler, saving on labor costs. Consider vinyl planks for a stylish and affordable floor upgrade.
COST ANALYSIS
Compared to hardwood ($4-$10 per sq ft) or ceramic tile ($3-$15 per sq ft), vinyl planks offer a budget-friendly option ($2-$8 per sq ft). Installation is also typically cheaper due to its click-and-lock mechanisms.
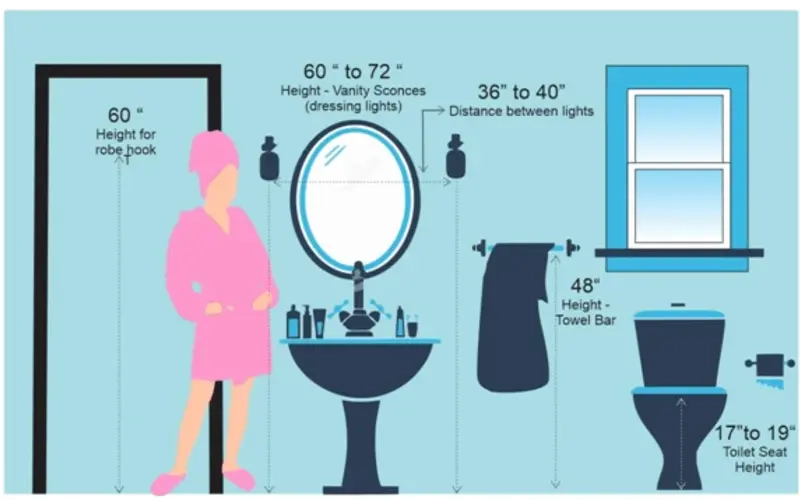
10. Standard-Sized Fixtures: Ditch the custom options and embrace standard-sized fixtures like vanities, toilets, and bathtubs. These readily available choices are often significantly cheaper than custom-made pieces and fit seamlessly into most bathroom layouts.
Remember, the standard doesn’t mean boring! Explore various styles and finishes within standard sizes to find the perfect fit.
COST ANALYSIS
Custom:
Vanities: $2,000+
Toilets: $300-$500+
Bathtubs: $1,000+
Standard:
Vanities: $500-$1,500
Toilets: $150-$300
Bathtubs: $500-$1,000
This difference can save you significant money.
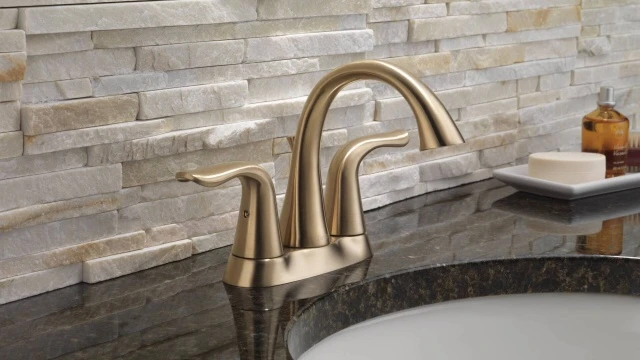
11. Mid-Range Products: Don’t be swayed by brand names alone. Research and compare mid-range product options for quality materials and construction without the premium price tag. Focusing on value over brand hype can save you hundreds, especially for items like faucets, vanities, and showerheads.
COST ANALYSIS
Faucets:
High-end: $300+
Mid-range: $100-$200 (offer similar quality)
Vanities:
High-end: $3,000
Mid-range: $1,000-$2,000
Showerheads:
Mid-range: $50-$100
High-end: $200+
Research and compare to find the sweet spot between price and quality.
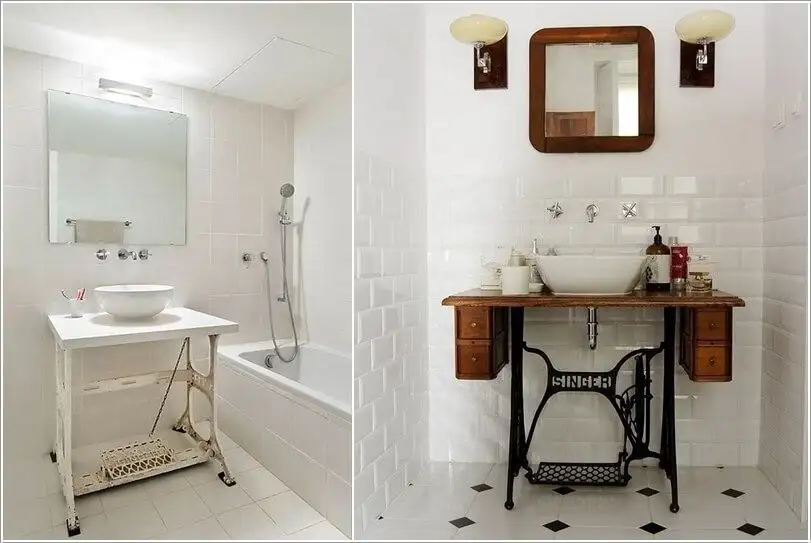
12. Reuse & Upcycle Materials: Give old materials a new lease on life! Salvaged doors, vanities, or tiles can add unique character and charm to your bathroom at a minimal cost. Look for used items at flea markets, salvage yards, or online marketplaces. With some creativity and TLC, you can transform these finds into beautiful additions to your space.
COST ANALYSIS
Salvaged finds can be free or very affordable. Refinishing costs might incur (e.g., painting old cabinets: $50-$100), but significantly less than buying new cabinets ($500-$2,000).
Utilize your time and effort for cost savings.
13. Explore Used & Discount Finds: Don’t underestimate the power of pre-loved treasures! Flea markets, online marketplaces, and even local classifieds can offer hidden gems like lighting fixtures, mirrors, or storage cabinets at significantly lower prices compared to new retail options.
With a bit of searching, you can score unique and budget-friendly finds for your bathroom renovation.
COST ANALYSIS
Used fixtures or lighting could cost $50-$100 compared to new ones $200-$500+. Online marketplaces often have good deals. The cost depends on the specific item, but expect significant savings compared to retail.
IV. DIY for Savings
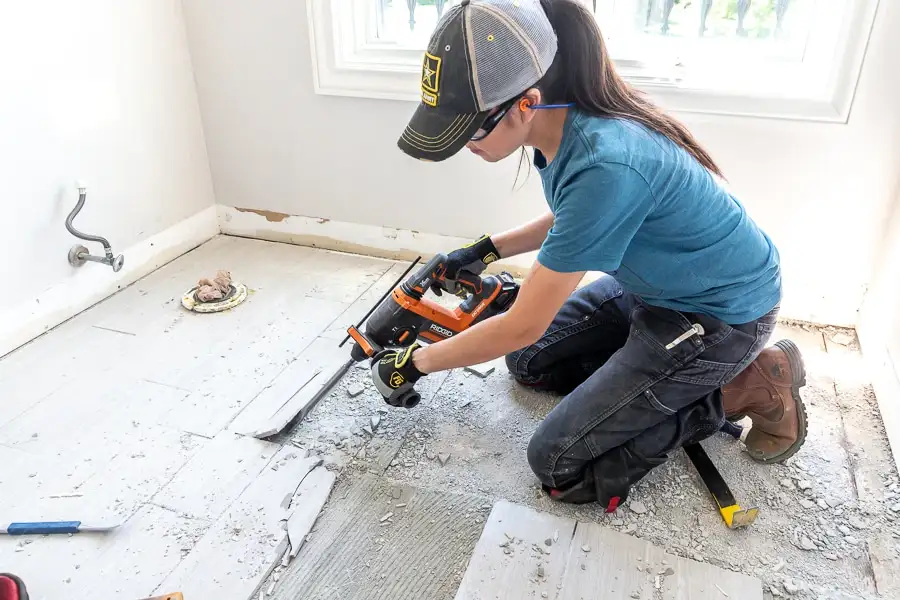
14. Demolition Work: If you are comfortable and confident in your abilities, tackling demolition yourself can save on labor costs. Break down walls, remove tiles, and haul away debris responsibly. Remember safety first: wear proper protective gear and consult professionals for complex tasks.
COST ANALYSIS
Labor costs for demolition can range from $500-$2,000+ depending on the project size and complexity. Doing it yourself saves significantly, but remember that proper disposal fees and safety gear (around $50) might apply.
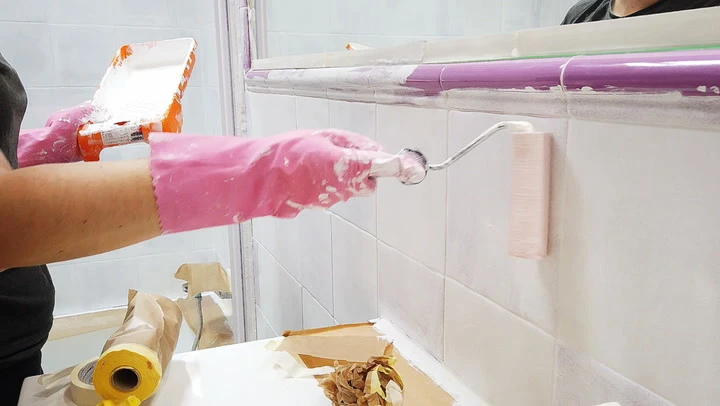
15. Painting Walls & Cabinets: A fresh coat of paint can breathe new life into tired walls and cabinets. Choose moisture-resistant paint for bathrooms and invest in quality brushes and rollers for a professional finish. This DIY project saves on painting contractor fees.
COST ANALYSIS
Paint can cost $20-$50 per gallon, and brushes and rollers $20-$50 each. Compared to painting contractor fees ($200-$500 per room), DIY saves money, but factor in time and effort.
16. Installing New Hardware: Update cabinet pulls, faucets, showerheads, or towel racks with new hardware for a quick and affordable style refresh. Choose quality hardware within your budget and follow the installation instructions carefully. This is cheaper than replacing entire fixtures.
COST ANALYSIS
Hardware prices vary greatly ($10-$100+ per piece). While cheaper than replacing fixtures (faucets: $50-$200+, towel racks: $20-$50+), consider installation complexity and potential mistakes.
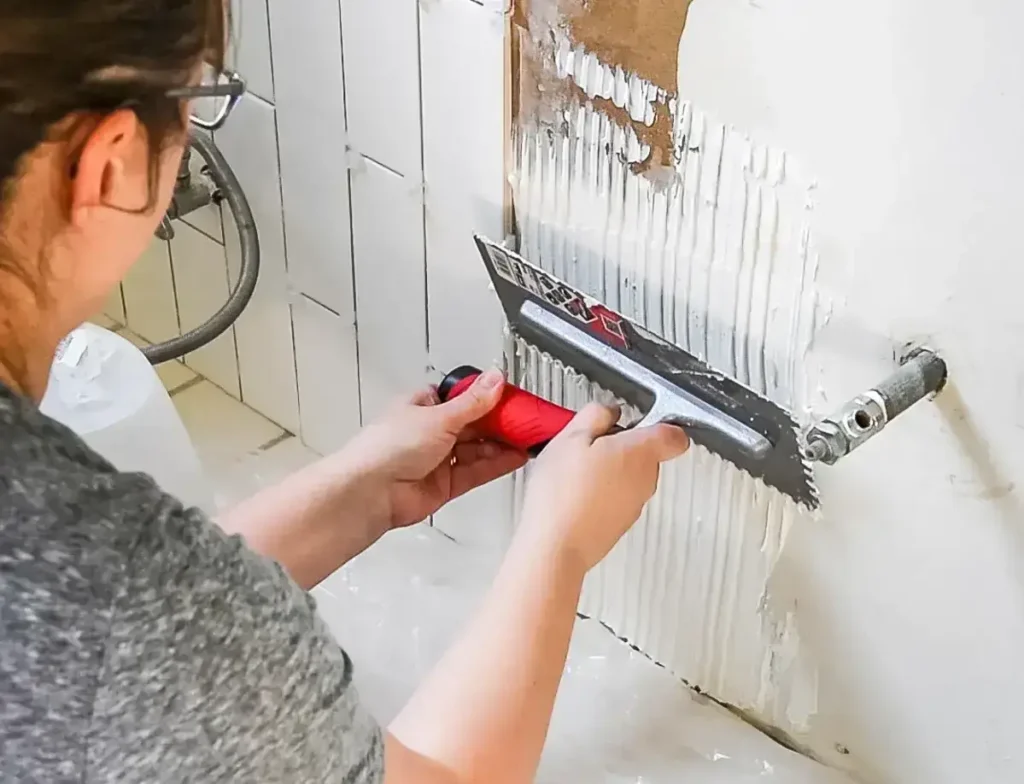
17. Basic Tile Installation: Consider tackling smaller areas like backsplashes or accent walls with DIY tile installation. Choose easy-to-cut materials like subway tiles and use grid spacers for consistent grout lines. While requiring time and effort, it can save on tiling contractor costs.
COST ANALYSIS
Tiles themselves can range from $0.50-$5+ per square foot. Grout, spacers, and tools add to the cost (around $50-$100). Unlike tiling contractor costs ($5-$10 per square foot), DIY offers potential savings, but remember the learning curve and potential for material waste.
Remember:
Safety first! Consult professionals for complex tasks and factor in potential mistakes or material waste when calculating savings.Bonus Tip:
Online tutorials and forums are free (Cost: $000!), empowering you with knowledge before tackling DIY projects.
By taking on manageable tasks like demolition (with caution!), painting, hardware updates, and even basic tiling, you can save money while gaining valuable experience. Prioritize safety, choose appropriate projects, and don’t hesitate to seek professional help when needed.
V. Cosmetic Upgrades vs. Gut Renovations
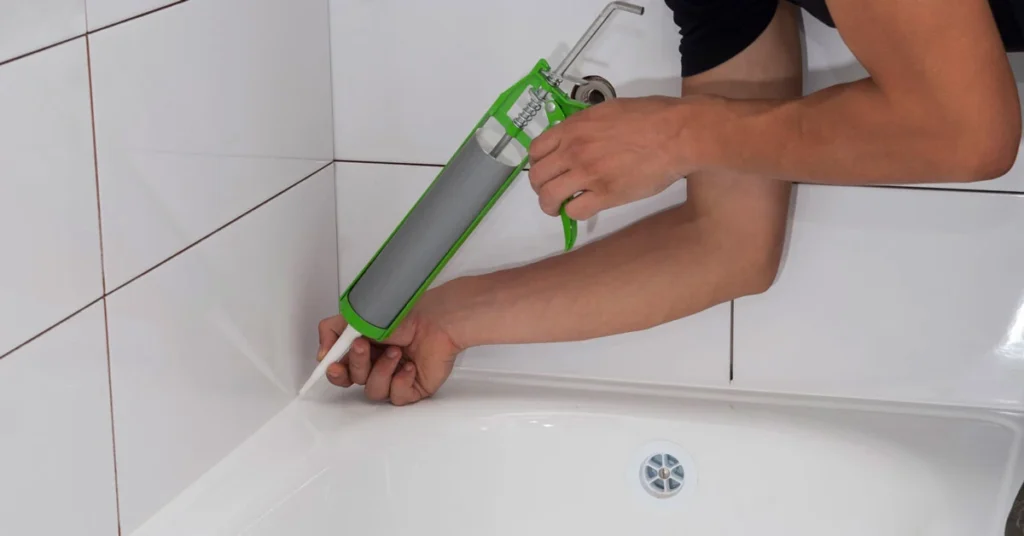
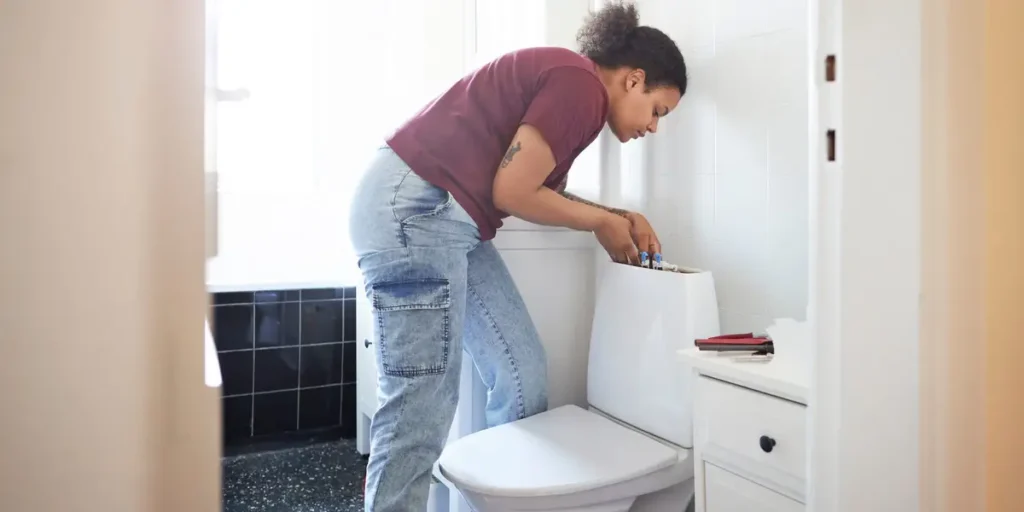
18. Regrouting & Caulking: Renewing grout and caulking around tiles, sinks, and tubs addresses leaks, improves hygiene, and enhances aesthetics. It’s a cost-effective way to revitalize your bathroom without major demolition.
COST ANALYSIS
Grout & caulk: $10-$20 per tube, tools: $20-$50. While a small investment, professional regrouting can cost $100-$200+. DIY saves money, but factor in your time and effort.
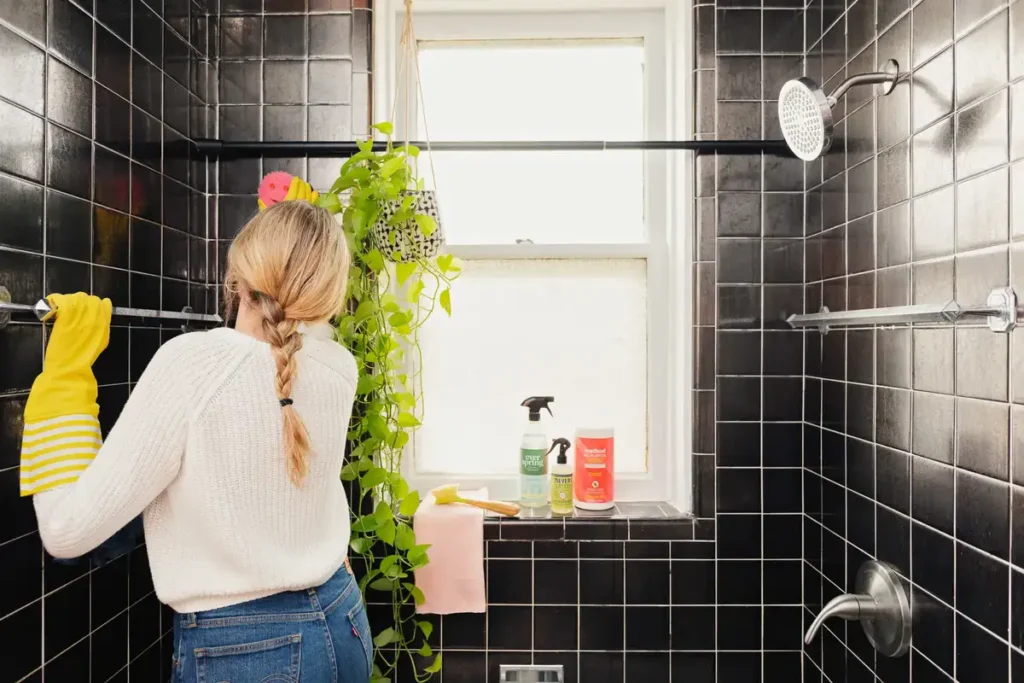
19. Deep Cleaning & Polishing: Give your existing fixtures a spa-like treatment! Deep cleaning removes grime and mineral deposits while polishing restores shine to faucets, mirrors, and shower doors. This budget-friendly approach can make a surprising difference.
COST ANALYSIS
Cleaning supplies: $20-$50. Professional deep cleaning services might cost $100-$200+, but DIY is significantly cheaper and allows you to personalize the approach.
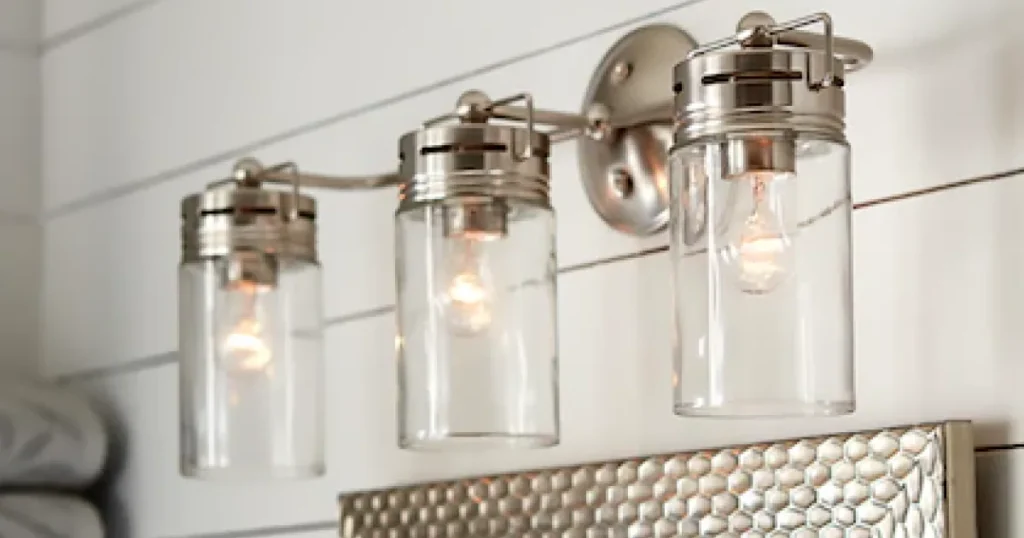
20. New Lighting Fixtures: Update outdated light fixtures with modern options for improved functionality and ambiance. Consider energy-efficient LEDs for long-term savings. This investment can elevate your bathroom’s look and feel.
COST ANALYSIS
Basic fixtures: $20-$50+, designer options: $500+. Upgrading dimmers or switches adds to the cost. Consider long-term savings from energy-efficient LEDs.
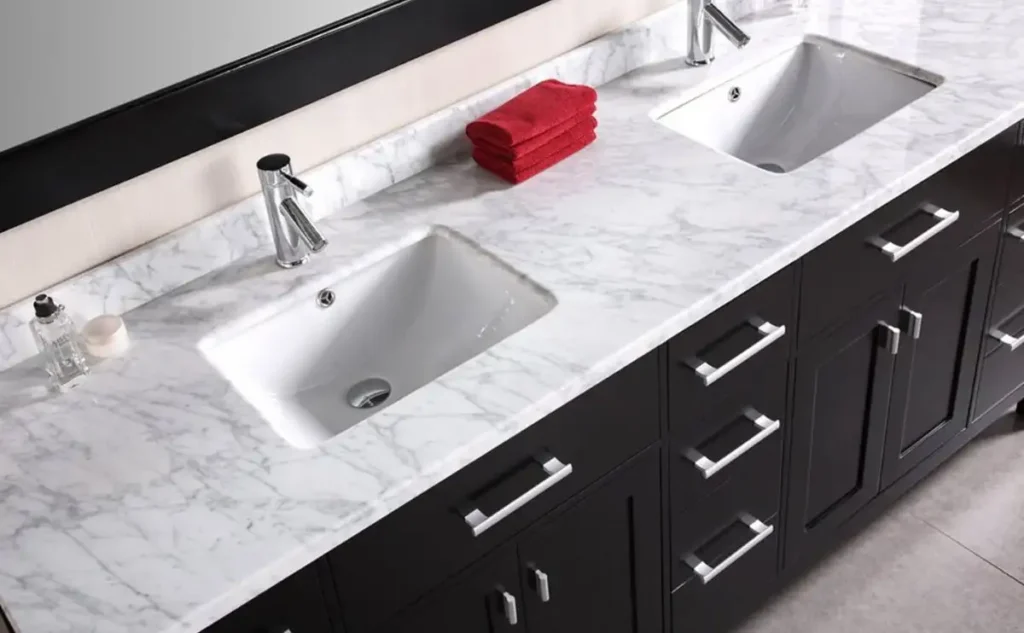
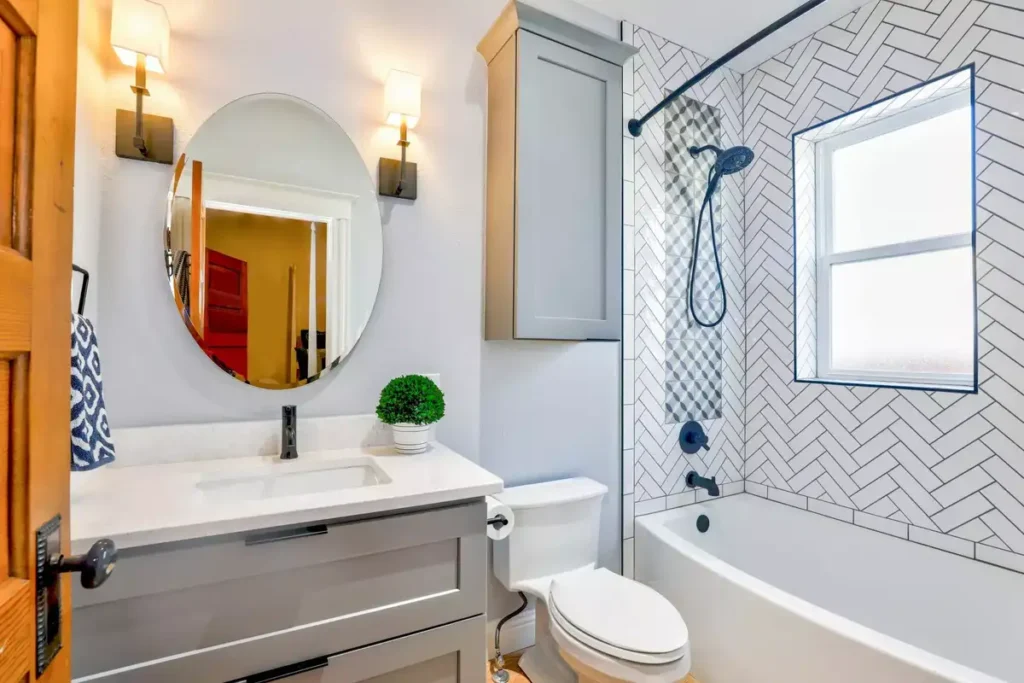
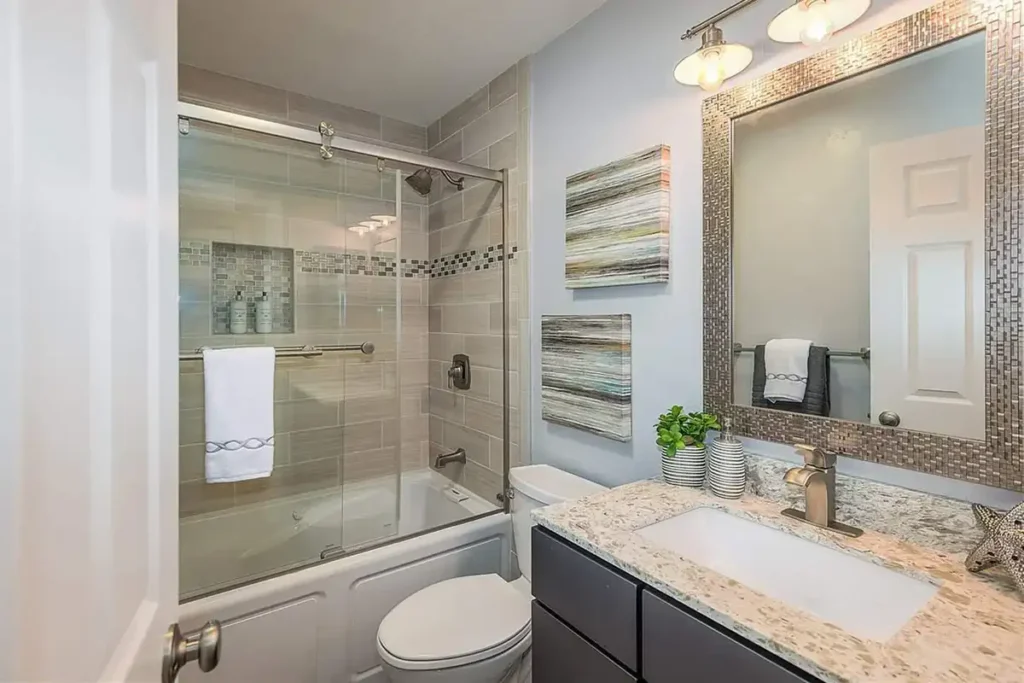
21. Replacing Vanity Tops: Update outdated countertops with new materials like laminate, quartz, or cultured marble. This refresh can significantly enhance the bathroom’s aesthetics without the full cost of replacing the entire vanity.
COST ANALYSIS
Laminate: $200-$500, quartz: $500-$2,000+, cultured marble: $300-$1,000+. Installation adds $100-$200+. Compared to full vanity replacement ($2,000+), countertops offer a targeted refresh.
22. Decorative Accents: Refresh your bathroom’s personality with affordable accents like new towels, shower curtains, artwork, or plants. These simple touches can add color, texture, and a personalized touch without breaking the bank.
COST ANALYSIS
Towels: $10-$50+, shower curtains: $20-$100+, artwork: $20-$200+, plants: $10-$50+. The beauty lies in personalization, so costs vary greatly but remain budget-friendly compared to major renovations.
Bonus Tip:
Combine upgrades wisely! New lighting ($50) and a vanity top ($300) can create a noticeable refresh for under $400, compared to a full gut renovation.
By focusing on cost-effective options like regrouting, deep cleaning, strategic fixture updates, and decorative accents, you can achieve a beautiful and functional bathroom for a fraction of the gut renovation cost. Choose the approach that best fits your budget and the desired level of transformation.
VI. Sustainable & Smart Features
23. Low-Flow Toilets & Faucets: While initially costing more than standard options, these features significantly reduce water usage, lowering utility bills and conserving precious resources. Long-term savings outweigh the upfront cost.
COST ANALYSIS
Toilets: Standard: $100-$200, Low-flow: $200-$500. While the upfront cost is higher, potential water bill savings can reach $100+ per year, recouping the cost over time.
Faucets: Standard: $20-$50, Low-flow: $50-$100. Similar to toilets, the potential water savings ($50+ per year) can offset the initial investment.
24. Energy-Efficient Lighting: Replace incandescent bulbs with LED fixtures. While LEDs have a higher upfront cost, they last significantly longer (25,000+ hours) and use up to 80% less energy, leading to substantial savings on electricity bills over time.
COST ANALYSIS
LED Fixtures: $10-$50 per fixture. While more expensive than incandescent bulbs ($2-$5), LEDs last significantly longer (25,000+ hours vs. 1,000 hours) and use less energy, potentially saving $10-$20 per year per fixture on electricity bills.

25. Water-Saving Showerheads: Upgrade your showerhead to a low-flow option. These efficient models use less water per minute without sacrificing a refreshing shower experience. The small upfront cost translates to long-term water conservation and potentially lower utility bills.
COST ANALYSIS
Showerheads: Standard: $10-$20, Low-flow: $20-$50. These efficient models can reduce water usage by 20-50%, potentially saving $50-$100 per year on water bills. The small upfront cost offers a quick payback.
26. Natural Ventilation & Lighting: Utilize windows for natural light and ventilation whenever possible. Strategically placed skylights can further enhance natural light, reducing reliance on artificial lighting and saving energy. This approach requires minimal investment and leverages the power of nature.
COST ANALYSIS
Windows: Utilizing existing windows is free (Cost: $000). Adding skylights can range from $500-$2,000+ depending on size and complexity, but offer long-term energy savings.
VII. Accessibility & Safety Features
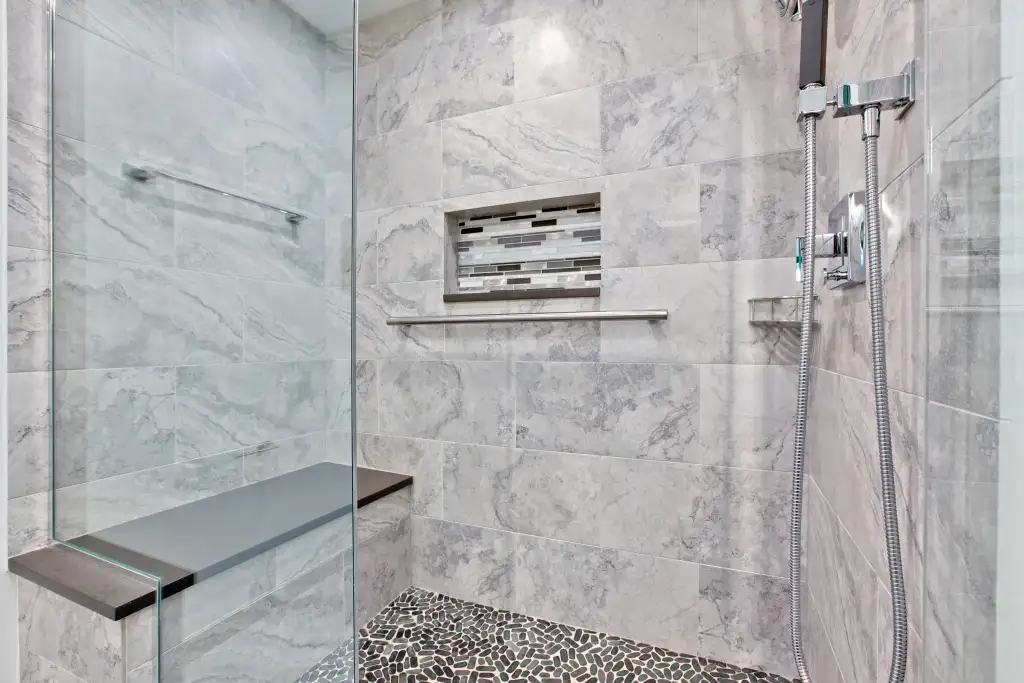
27. Grab Bars & Shower Seats: Install grab bars near toilets, showers, and tubs for added stability and support, especially for individuals with mobility limitations. Shower seats provide a safe resting place while bathing.
COST ANALYSIS
Grab Bars: $20-$50+ each, depending on material and style. Installation adds $50-$100+.
Shower Seats: $50-$200+ depending on material and features. Installation can be similar to grab bars.
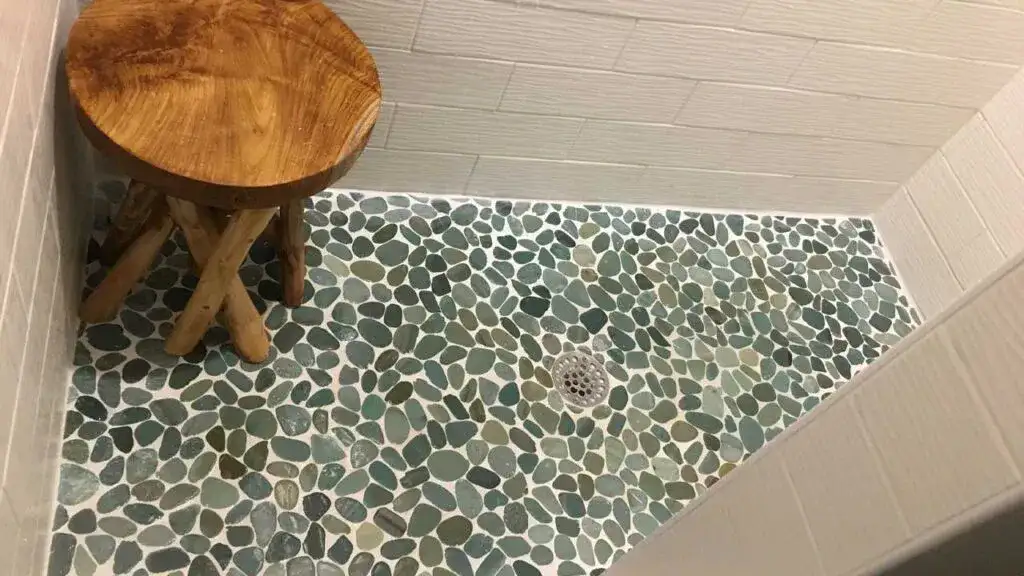
28. Non-Slip Flooring: Opt for textured or non-slip flooring materials like ceramic tiles with a matte finish or vinyl planks with high traction ratings. This minimizes the risk of slips and falls, creating a safer environment for everyone.
COST ANALYSIS
Ceramic Tiles: $2-$5 per square foot for standard, $5-$10+ for high-traction options. Installation adds $2-$5 per square foot.
Vinyl Planks: $2-$8 per square foot for standard, $5-$10+ for high-traction options. Installation is typically easier and cheaper than tile.
29. Well-Lit Bathroom: Ensure adequate lighting throughout the bathroom, including task lighting near mirrors and in the shower/tub area. Consider motion-sensor lights for automatic illumination, especially at night.
Upgrading to energy-efficient LEDs offers additional benefits. Lighting costs vary greatly depending on fixtures and features, but prioritize safety and functionality.
COST ANALYSIS
Fixtures: $20-$100+ each, depending on style and features.
LED Bulbs: $5-$20 each, significantly more energy-efficient than incandescent options.
Motion Sensor Lights: $20-$50+ each, offer convenience and potential energy savings.
30. Emergency Call System: Consider installing a call system with a readily accessible button to connect with assistance in case of emergencies or falls. These systems offer peace of mind for individuals with limited mobility or who live alone.
COST ANALYSIS
Basic Systems: $100-$200+ for the device, with optional monthly monitoring fees.
Advanced Systems: $300-$500+ for the device, with more features and potentially higher monitoring fees.
31. Universal Design Principles: When planning renovations or designing a new bathroom, consider universal design principles. Wider doorways, accessible shower stalls, and lever handles create a bathroom usable by everyone, regardless of age or ability.
Implementing these principles might have initial costs, but promotes long-term inclusivity and potentially reduces future modifications.
COST ANALYSIS
Wider Doorways: Modifying existing doorways can cost $500-$1,000+. Consider wider pre-hung doors during initial construction for lower costs.
Accessible Shower Stalls: $1,000-$3,000+ depending on size, features, and complexity. Consider curbless designs for easier access.
Lever Handles: $10-$50+ per handle, replacing existing knobs is a relatively affordable upgrade.
Remember:
Investing in accessibility and safety features ensures a bathroom that’s comfortable and secure for everyone who uses it. Choose features that suit your needs and budget, and create a space that promotes well-being and independence.Bonus Tip: Consult with occupational therapists or accessibility specialists for personalized recommendations and resources to create a truly safe and inclusive bathroom environment.
IX. Bonus Tips!
32. Declutter & Organize: Regularly declutter toiletries and other items, utilizing storage solutions like cabinets, shelves, and organizers. A clutter-free bathroom feels more spacious and promotes relaxation. Consider under-sink storage or wall-mounted shelves to maximize space.
33. Embrace Natural Elements: Introduce plants for a touch of life and improved air quality. Opt for low-light varieties like snake plants or ferns. Natural textures, like wood accents or stone countertops can add warmth and character.
34. Personalize with Artwork & Accents: Reflect your style with decorative touches like artwork, towels, shower curtains, or scented candles. These simple additions can create a spa-like ambiance or showcase your personality.
35. Boost Ventilation: Ensure proper ventilation with exhaust fans or windows to prevent moisture buildup and mold growth. Consider quiet and energy-efficient fan options.
36. Think Outside the Box: Upcycle vintage furniture or repurpose unexpected items for unique storage solutions or decorative accents. Let your creativity shine!
37. Regular Maintenance: Address minor leaks promptly to prevent future damage. Clean fixtures regularly to maintain their shine and functionality. Regular maintenance extends the lifespan of your bathroom elements.
Remember, small details can make a big difference! By incorporating these additional tips, you can create a beautiful, functional, and personalized bathroom that reflects your style and promotes well-being.
X. A Quick Recap On How To Save Money On Bathroom Renovation:
Embrace DIY: Tackle manageable tasks like painting, hardware updates, and even basic tiling to slash labor costs.
Seek budget-friendly alternatives: Explore pre-fabricated showers, standard-sized fixtures, and readily available materials instead of custom options.
Upcycle & reuse: Give old materials a new lease on life! Look for used fixtures, salvaged tiles, or vintage furniture to add unique character at a fraction of the cost.
Cosmetic upgrades over gut renovations: Refresh outdated elements with deep cleaning, regrouting, and strategic fixture updates for a significant impact without major demolition.
Embrace efficiency: Opt for low-flow toilets, energy-efficient lighting, and water-saving showerheads for long-term savings on water and energy bills.
Invest wisely in professionals: Seek help for complex tasks, but compare quotes and prioritize safety. Consider seeking specialists for personalized accessibility features.
Remember: Small details matter! Declutter, add plants and personalize with accents to create a spa-like ambiance without spending big.
By combining these strategies, you can achieve a beautiful and functional bathroom that reflects your style, all while mastering the art of “how to save money on bathroom renovation”!
Remember, creativity, resourcefulness, and smart planning are your key allies in this exciting journey. With a little DIY spirit, strategic choices, and this guide, you can unlock the secrets to transforming your bathroom without exceeding your budget.
Let’s turn your dream bathroom into a reality, one affordable step at a time!